Cookies N Cream Cupcakes

I was recently in charge of making cupcakes for Olivia’s teacher’s birthday.  I asked around to other teachers and my Mother-in-Law who is a newly retired teacher from our district to find out what her favorite dessert/sweet is and no one could give me an answer, but I knew she liked chocolate.  Soooooo I found a recipe for Cookie N Cream Cupcakes and decided to give them a shot.     I gathered my little bakers and my ingredients into the kitchen and we got started right away.   The recipe came from Annie’s Eats who has so many delicious recipes of all kinds……AND I figured out where I got the recipe for the Cookie Dough Cupcakes  that I recently blogged out!  ANNIE’S EATS is where it came from!!!!  🙂  So THANK YOU, Annie!

OK so we made these cupcakes and they were delicious…Olivia’s teacher and the kids in her class LOVED them, BUT I thought they were a tiny bit dry.  I’m not sure if they are a drier cupcake or if I did something wrong, but they def were drier than I like my cupcakes.  The dryness DID NOT take away from the delicious taste though, I can promise you that!   I’d like to give them another shot and see if they are equally as dry the next time!

Cookie N Cream Cupcakes
For the cupcakes:
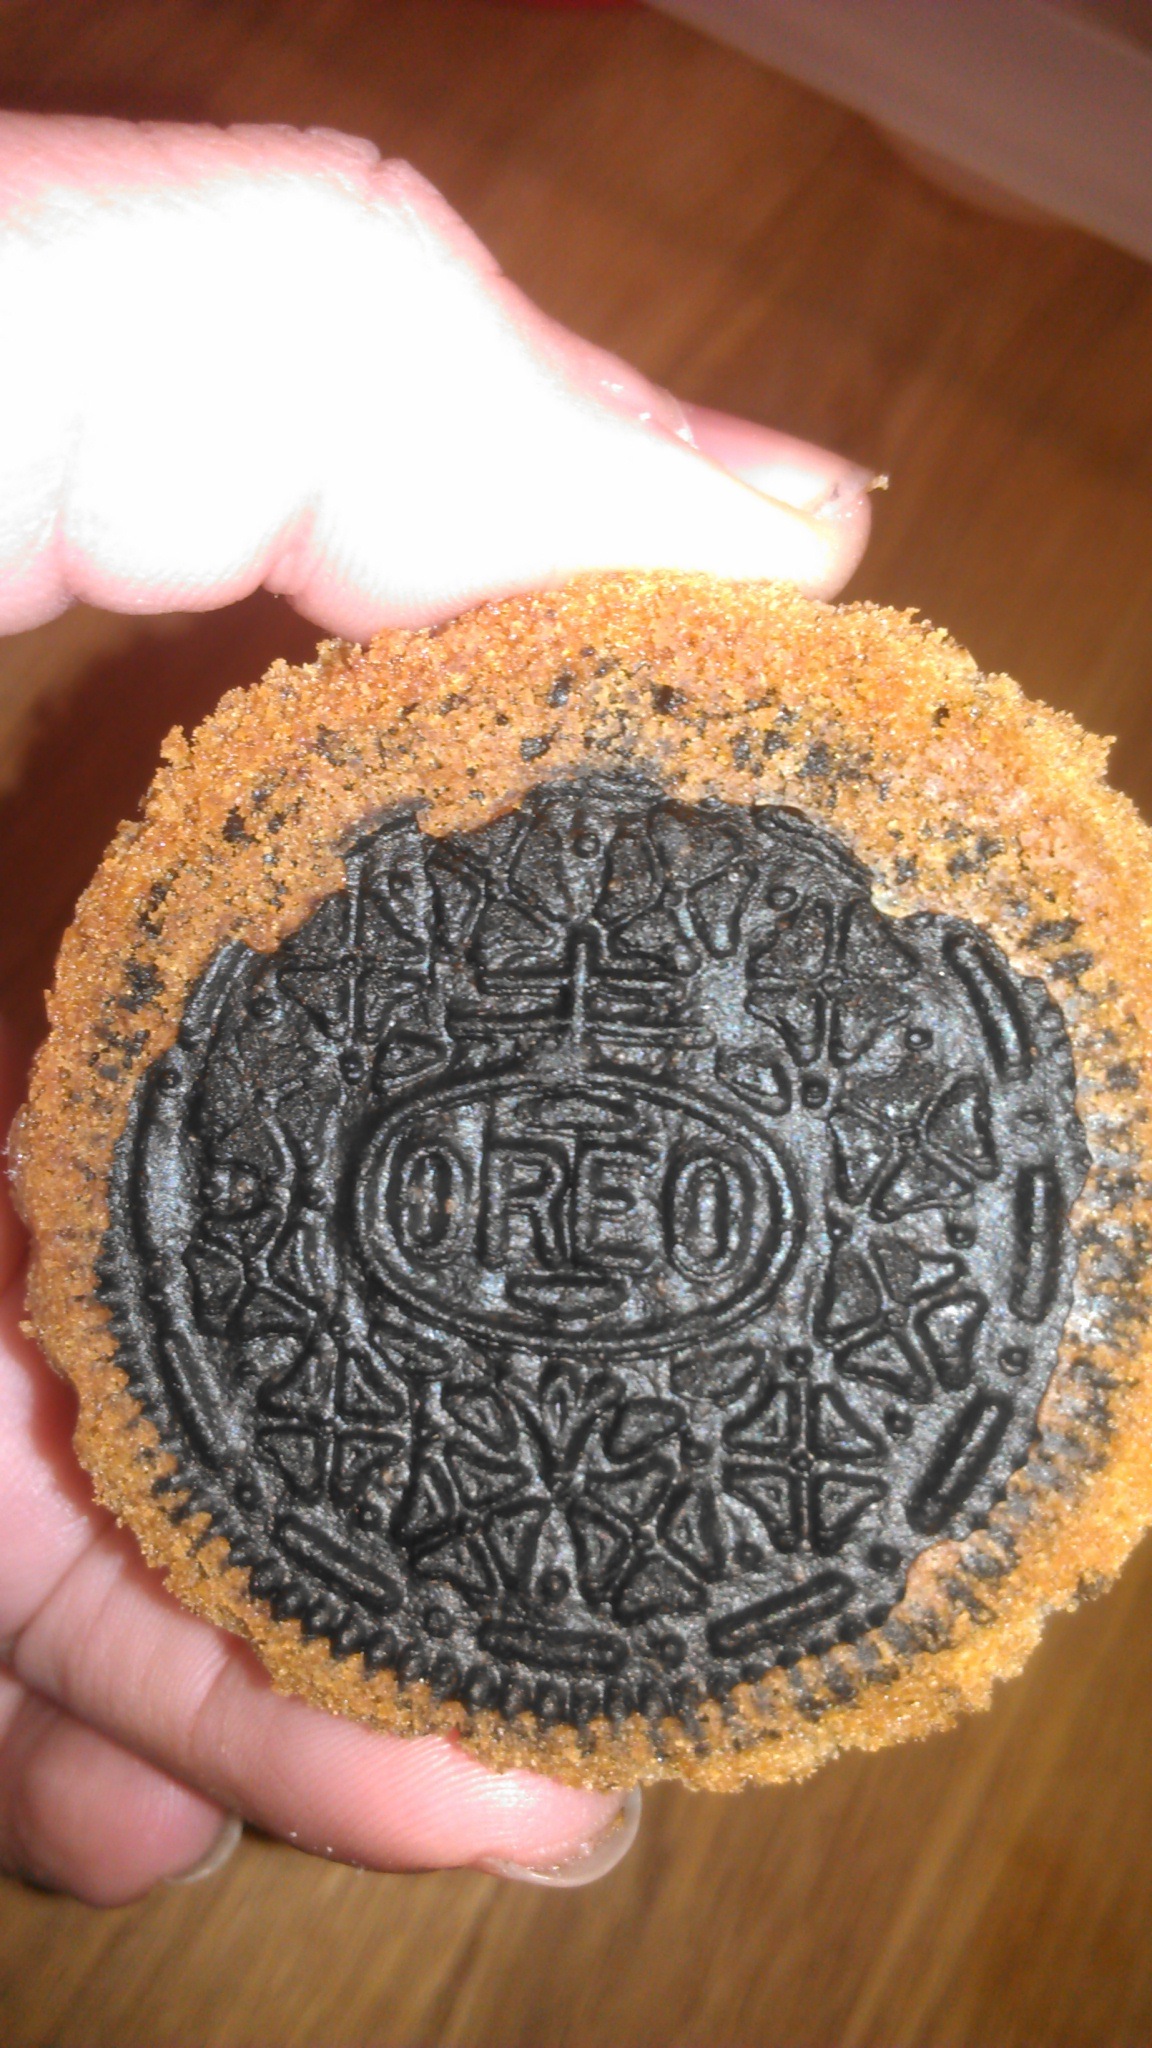
24 Oreo halves, with cream filling attached
2 ¼ cups all-purpose flour
1 tsp. baking powder
1 tsp. salt
8 tbsp. unsalted butter, at room temperature
1 2/3 cup sugar
3 large egg whites, at room temperature
2 tsp. vanilla extract
1 cup milk
20 Oreo cookies, coarsely chopped
For the frosting:
8 oz. cream cheese, at room temperature
6 tbsp. unsalted butter, at room temperature
1 tbsp. vanilla extract
4 cups confectioners sugar, sifted
2 tbsp. heavy cream
••••••••••••••••••••••••••••••••••••••••••••••••••••••••••••••••••••••••••••••••
Preheat the oven to 350°F.
Line the cupcake pans with 24 paper liners.
Place an Oreo halve in the bottom of each liner, cream side up.
In a medium bowl, combine the flour, baking powder and salt; stir together with a fork to blend and set aside.
In the bowl of an electric mixer, combine the butter and sugar and beat together on medium-high speed until light and fluffy, about 2 minutes.
Blend in the egg whites one at a time, beating well after each addition.
Blend in the vanilla extract.
With the mixer on low speed, beat in half of the dry ingredients just until incorporated.
Add the milk and beat just until combined, then mix in the remaining dry ingredients.
Gently fold in the chopped Oreos with a rubber spatula until evenly incorporated, being careful not to over-mixEvenly divide the batter between the prepared cupcake liners.
Bake for 18-20 minutes, rotating the pans halfway through baking, until a toothpick inserted in the center comes out clean. Allow to cool in the pans 5-10 minutes, then transfer to a wire rack to cool completely.
To make the frosting, combine the cream cheese and butter in the bowl of an electric mixer and beat on medium-high speed until smooth, about 1 minute.
Blend in the vanilla extract.
Beat in the confectioners sugar until incorporated and smooth, 1-2 minutes.
Add the heavy cream to the bowl and beat on medium-low speed just until incorporated, then increase the speed to medium-high and whip for 4 minutes until light and fluffy, scraping down the sides of the bowl as needed.
Frost the cooled cupcakes as desired. Garnish with leftover Oreo halves.
ENJOY!
Image 21

Image 20

~gianna~

Oreo Cheesecake

In honor of Joe’s Birthday…………I decided to post about this cheesecake!  He’s the sweet tooth in the family and chocolate is the way to his heart………HAPPY BIRTHDAY, BABE!!!

This cheesecake might be one of the most delicious cheesecakes I have ever had!   As my trusty followers probably already know, I’m not a huge chocolate lover and I’m not a fan or Oreos…like I won’t sit and eat Oreos with a glass of milk.  I do love cookies N cream desserts, and I LOVE this cheesecake and anyone who has had any….agrees!  It’s always one of my old faithfuls and it’s perfect for any time of year….a BBQ, a Christmas party, a gathering of friends…..it will get you rave reviews!!

It’s pretty simple to make and doesn’t take too much time to prepare…..the longest time is in the baking and cooling in the fridge!  Make sure you make this cake with enough time for it to cool and settle (as with most cheesecakes).   I honestly can’t remember where I got this recipe, it may have been a website or a magazine because I don’t think I got it from anyone in particular (and if I did……I apologize for not giving you a shout out).

OREO CHEESECAKE

I package (1lb 2oz) Oreo Cookies 
1/4 cup butter or margarine, melted
4 pkgs (8oz. each) Philly cream cheese, softened
1 cup sugar
1 tsp. vanilla
1 cup sour cream
4 eggs

************************************************************************************

Preheat oven to 325°.

CRUST: Place 30 cookies in food processor; cover. Process until finely ground. Add butter, mix well. Press firmly into 13×9-inch baking pan.

Beat cream cheese, sugar and vanilla in a large bowl with electric mixer on medium speed until well blended. Add sour cream; mix well. Add eggs, 1 at a time, beating just until blended after each addition. 

Chop remaining cookies. Gently stir 1-1/2 cups of chopped cookies into cream cheese batter. Pour over crust. Sprinkle with remaining chopped cookies.

Bake 45 minutes or until center is almost set. Cool. Refrigerate 3 hours or overnight. Cut into 16 pieces. Store leftover cheesecake in fridge. 

TIPS: For easy removal line pan with foil, with ends extending over pan’s sides. Lift from pan using foil handles…..makes it easy to cut.
I use my Kitchen Aid Stand Mixer….so smooth and fluffy!

As usual my pictures don’t do it’s justice…..my photography is an embarrassment!  🙂

ENJOY!  *The cake, not my picture*

Oreo Cheesecake

~gianna~

Red Velvet Fudge Pie

As I’ve discussed previously, red velvet is my favorite dessert.  I love anything red velvet….so when I got this list of 30 red velvet recipes, I was ready to try them all!     I had already tried the Red Velvet Oreo Brownies and got rave reviews from everyone that tried them…but this one I just knew would be another crowd pleaser.     The perfect occasion to try it was on Valentine’s Day because well….it was Valentine’s Day, the day of everything chocolate and LOVE ❤  but also because my family would be celebrating my Dad’s birthday on Valentine’s Day this year.  He was going away for his actual birthday (yesterday).   He actually requested  “NO RED VELVET THIS YEAR!” and “SOMETHING MORE PLAIN!”…..so I did make him a regular boxed cake with cream cheese frosting.  I know…GASP…boxed cake.  but given we’d been snowed in for days and cooking and baking for most of them….I needed the comfort and ease of a plain white cake with cream cheese frosting.  Plus I also knew I’d be making the pie as a second dessert and it’d take some time!    HOLY COW!!!!  This pie was unreal!!!  Like don’t wait until next Valentine’s Day to make it……you need to make it now!  Like AS.  SOON.  AS.  POSSIBLE!  It’s that good!  Everyone loved it, including my Dad….who requested NO RED VELVET.  He actually went for a piece of the pie first!      It was simple and delicious.  I can’t wait to make another one…SOON!

The recipe came from HERE .  I follow her Facebook page and she always has some really amazing desserts and creative, fun things!  Check her out!!!

Red Velvet Fudge Pie

**The amount of cake batter makes 2 pies, but I only used half the batter and made 1 pie.  Saved the rest for a plain cake. BUT I used all the fudge topping!

Ingredients
1 box red velvet cake mix (3 eggs, 1/3 cup vegetable oil) 

1/2 cup butter

12 ounces mini  chocolate chips

1 14-ounce can sweetened condensed milk

2 refrigerated pie crusts (or homemade, your choice)

********************************************************************

Preheat oven to 350°

Unroll pie crust into pie pan.

Prepare cake mix according to instructions on back.

 Mix well and pour into refrigerated pie crust in pan.

Bake for 30-35 minutes or until crusts are golden brown and toothpick inserted in center comes out clean.

If crusts begin to brown before pie is done, cover loosely with aluminum foil.

In medium saucepan, combine butter, 10 ounces of chocolate chips (reserve some for garnish) and sweetened condensed milk.

Stir (medium heat) until smooth and pour over pies.

Garnish with extra chocolate chips!

Let cool completely.

ENJOY!!

Image 3

AMAZING!!!

Image

I didn’t let it cool long enough, which is why the chips melted, but it didn’t matter….it was still unreal!

~gianna~

Red Velvet Cake

Recently I had a discussion with my bestie about favorite desserts.   We were talking about if we were going to buy each other a dessert, for each other’s birthday….would we know what to get?   I guessed carrot cake or coconut cream pie for her…..and I was right AND she picked red velvet for me and she was correct!   Red velvet cake (well red velvet anything) is probably my most favorite dessert of all time.  Funny thing is I don’t like chocolate…and red velvet is cocoa based…..BUT it’s for sure my favorite!  I think when it’s paired with a cream cheese frosting….I’m in heaven!  Plus who doesn’t love that bright red cake/white frosting combo.  It’s just looks FUN!

And with Valentine’s Day right around the corner….I’ll be posting a bunch of red velvet/dessert recipes for the occasion!   Give them a try on your loved ones…..they will fall in love.

One of my all time favorite red velvet cake recipes comes from Bakerella.  Def check her out…. for all your baking favorites.  She’s truly amazing!  I’ve made her cake many times over the past few years and it’s always raved about!    I’ve made other recipes, but none are quite like hers……moist (I know…..I hate that word too) and delicious.  And her cream cheese frosting  will send you over the edge!

WOW your love this Valentine’s Day with this red velvet cake recipe!  ❤

Red Velvet Cake

2 1/2 cups all purpose flour
2 cups sugar
1 Tablespoon cocoa
1 teaspoon salt
1 teaspoon baking soda
2 eggs
1 1/2 cups oil
1 cup buttermilk
1 Tablespoon vinegar
1 teaspoon vanilla
2 oz. red food coloring

***********************************

Preheat oven to 350 degrees. 

Grease and flour two 8 inch cake pans. 

Lightly stir eggs in a medium bowl with a wire whisk. Add remaining liquid ingredients and stir together with whisk until blended. Set aside. 

Place all the dry ingredients in your mixing bowl and stir together really good with another wire whisk. 

Add wet ingredients to the dry ingredients and mix on medium-high for about a minute or until completely combined. 

Pour into cake pans and then drop the pans on the counter a few times to release any air bubbles. 

Bake for about 30 minutes or until a toothpick inserted comes out clean. 

After about ten minutes, remove from pans and cool completely on a wire rack. I also cover in plastic wrap while the cakes cool. 

Then make the frosting. 

Cream Cheese Frosting

8 oz. cream cheese, room temperature
1 cup butter, room temperature
1 teaspoon vanilla
6 cups confectioners’ sugar

*****************************************

Sift sugar and set aside. 

Beat cream cheese and butter on high until creamy. Add vanilla. 

Then, add the sugar in batches. Scrape down the sides in between each addition. 

And frost. 

ENJOY!!!!

red velvet

I can’t forget a shout out to my sister-in-law and my cousin  today!!!  HAPPY BIRTHDAY, GIRLS!!!  xoxoxo

~gianna~

Death By Chocolate

Here is a recipe that my Mom always made for special occasions when we were kids….I especially remember it on New Year’s Eve!  Her recipe was a little different because she used Heath Bars……and with all the nut allergies nowadays I stick with Kit Kats.  She also used to put Kahlua in her cake mix to give it a little extra kick, I do not.  You definitely can add the Kahlua and swap the Heath for the Kit Kats! But no matter how you do it…..you will be sure to have a crowd pleasing dessert!!!  It’s a very simple recipe, that really takes no time at all…..As long as you have the ingredients in your kitchen. You can make it for a large crowd, for a holiday, for a BBQ, or just for 2 people to share on Valentine’s Day (and the week following with leftovers).  I made this for New Year’s Eve and even though a lot of it went…I was so excited to have leftovers!!!!   It’s even better after it sits in the fridge for a few days!   YUM!!!!

Death By Chocolate 

1 box of Chocolate Cake Mix (I use Chocolate Fudge) 
1 box of Chocolate Mousse Mix 
1 large container of Cool Whip — remove from freezer and into fridge for 30 minutes-1hour before you make dessert. 
1 package of 6 — Kit Kat Bars 

 Follow directions on the cake mix box..and make your cake. 
Cool and then wrap the entire cake in foil and put in the freezer for a few hours. 
Make mousse by following the box..let cool in fridge for a few hours. 
In a food processor or by hand smash candy bars into pieces. 

When ready to make the dessert, get a large clear bowl. 
Crumble 1/2 of the cake into bottom of bowl. 
Next layer 1/2 of the mousse on top.
Next layer 1/2 of the Cool Whip. 
Sprinkle 1/2 of the candy pieces. 
Next layer the rest of cake crumbled.
Layer rest of mousse. 
Layer rest of Cool Whip. 
Finish off with candy pieces!

Image

~gianna~

I'm just starting out; leave me a comment or a like :)

They Like It...

  • None
REAL MOMS EAT PIZZA

Keepin it Real since February 18, 2014

Welcome to the world of NECCO!

News, crafts, recipes and more from the New England Confectionery Company (NECCO).

Pies Pizza & Pasta

Simple tasty convienient food done on a budget please leave any comments on the recipie you have tried or any changes or ideas you have so I can try them and add a post with the changes.

Chocolate, Chicken & Coconuts

"Every time you eat or drink, you're either feeding disease or fighting it"

Cooking with Mr Fitz

A collection of food journeys & taste-full experiences

Gusface Grillah

All things BBQ, bacon, dude food & beer.

ice cream magazine

................... for lovers of ice cream. Your free on line magazine for sweet frozen treats. Recipes, inspiration, artisanal ideas for your delectation.

The Daily Post

The Art and Craft of Blogging